About the Chef

My photo
Oregon, United States
My name is Alexia. I have lived in NE Oregon for most of my life, and love it here because it's where my family is. I have 3 younger sisters, 3 younger brothers, and a million cousins. I live with my husband and our three boys, and our dog Norman. My family is Greek/ Cajun/ Mexican, so food is very important to us;-) I love cooking and creating new recipes, my kids, my family, wine, painting, and everything retro! I am a dialysis technician. I love my job and my patients. I am currently studying to be a nurse. I love school, and so far it has been good to me... Dean's List or Honor Roll each term! Between work, school, my husband, our kids and all of their activities and adventures, I don't have a ton of time to blog. I love sharing recipes, so I make time for it when I can. You can follow me on Pinterest for more ideas and inspiration (thanks to those of you that have pinned my recipes!): pinterest.com/lexisamom .

Saturday, December 13, 2014

Three- Ingredient Vegan Chocolate Squares (gluten free and cane sugar free)

Follow me on Pinterest! Busy Mama Recipes


I had these at my friends house today, and they were so yummy I had to come home and make some. Thank you, Michelle, for the awesome recipe!

They're super easy to make. Although they aren't "healthy" in a low- calorie sense, they are organic and a more whole, natural way to get your chocolate fix. Sweetened with honey, they don't contain any cane sugar.

The end result is like a cross between a thick fudge and the inside of a chocolate truffle. Because they are made with coconut oil, the candies need to be kept chilled so they don't get runny. Although bringing them to room temperature makes them gooey, which is not a bad thing:-)


Ingredients:
1 cup organic coconut oil (I used Wildtree Organic Coconut Oil, which does not have a strong coconut favor)
1 cup organic unsweetened cocoa powder
1/2 cup organic honey

In a mixing bowl, beat the coconut oil and add the cocoa powder slowly (so the powder doesn't get everywhere). Add the honey and mix well. Pour into a small dish with sides- I used an individual casserole dish.

Chill for 45 minutes, then cut into squares and serve. 

After cutting (don't mind my poor cutting job- my son helped me.  But hey, it tastes the same, right?)

Optional: I added a pinch of sea salt to the top of mine before chilling. A small amount goes a long way. It gave it a little extra flavor.  You could also add almonds or walnuts. 


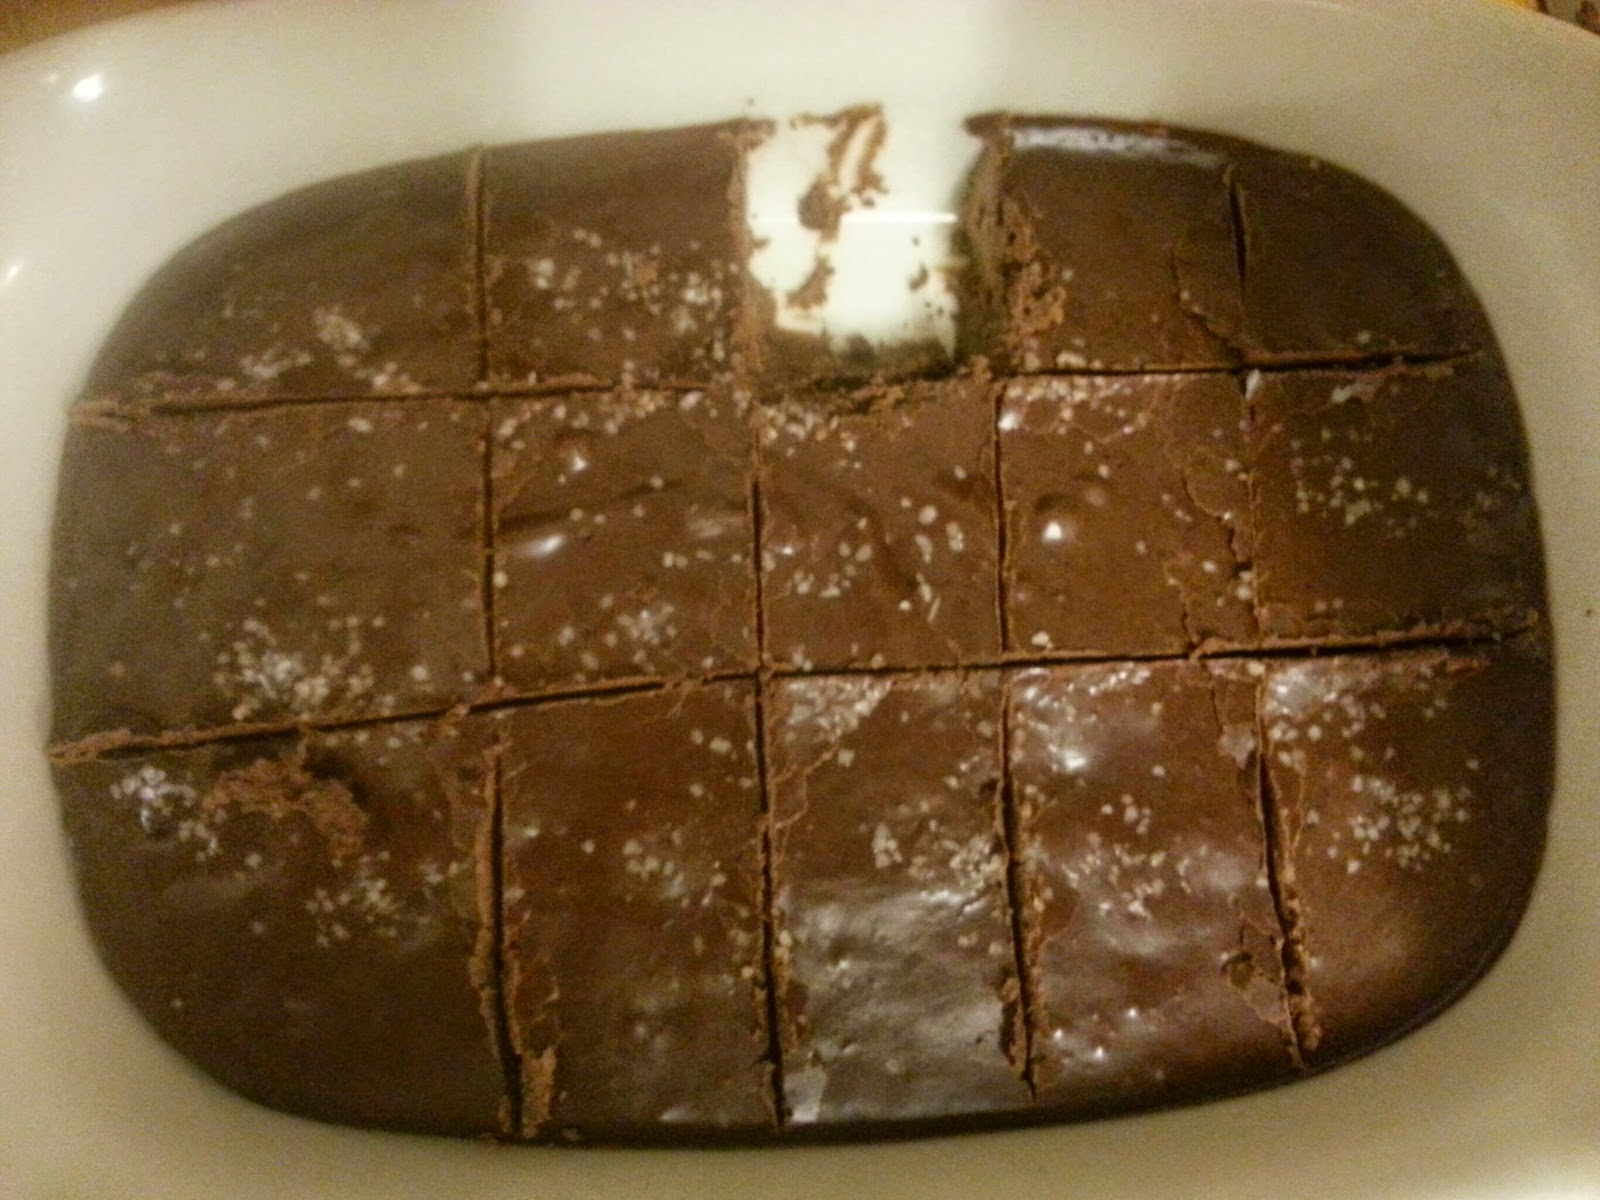
They hould be chilled long enough so each square come out of the pan easily.  If the chocolate is too warm, the squares will be too gooey and will stick to the pan and fall apart.  

Find me on Facebook: https://www.facebook.com/bombshellmamarecipes

Monday, May 5, 2014

Classic New York Style Cheesecake with Graham Cracker Crust

This is a classic, tried and true recipe for New York Style Cheesecake.

Make sure to let it cool for at least six hours or longer.  Cheesecake is always better the next day!

Crust:
1 cup Graham Crackers, crushed
3 tbs sugar
3 tbs butter, melted
1 tsp salt (omit if you use salted butter)

Cheesecake:
24 ounces cream cheese (plain, full fat) at room temperature
3/4 cup sugar
1 tsp vanilla
1 tbs lemon juice
3 large eggs at room temperature

Preheat oven to 325 degrees.  (If using a dark nonstick pan, preheat to 300 degrees).

Crush the graham crackers completely.  I find the easiest way is to put them in my food processor an pulse until the crumbs are uniform size.

In a small bowl, mix together the crumbs, melted butter, sugar, and salt.  Spread the mixture into a 9 inch springform pan. press into the bottom of the pan and about 3/4 inch up the sides.  To make it even thickness, I use a drinking glass to press down on the crumbs.

Bake for 15 minutes.

In the meantime, beat the cream cheese and 3/4 cup sugar in a bowl.  Add the vanilla and lemon juice (I have substituted lemon zest and it is just as good) and beat until well incorporated.  Add eggs, one at a time while mixing.  Be sure to mix well after each egg.Pour the batter over the crust and bake for 1 hour 10 minutes.

Remove from the oven and cool to room temperature on the counter, then cool in the fridge for at least five more hours.  I swear, this cheesecake hits it's peak at 3 days old! Before removing the sides of the pan, go around the edges of the cake with a butter knife or small pastry spatula to prevent sticking.

My favorite way to eat cheesecake is with dark chocolate drizzle.  Sometimes I can be talked into berry preserves (I can my own, but if you on't have any, one cup of unsweetened frozen berries, 2 tbs water, and 1/2 cup sugar on the stovetop until boiling works.  Cool before garnishing).

Another fun variation is to mix 2 tbs Wildtree Very Berry Cheesecake Mix with 1 cup full fat sour cream.  10 minutes before the cheesecake is done, remove fro over spread the sour cream mixture over it, and bake the remaining 10 minutes.  It's a twist on the classic sour cream frosting.

Monday, February 17, 2014

Wildtree Greek Tzatziki Sauce

Busy Mama Recipes


Homemade tzatziki is the best. This recipe goes great with pita bread, bagels, carrot sticks, crackers, or on salads with chicken. It is simple to make and requires on a few ingredients so its perfect for get-togethers or for a snack.

1 cup full fat Greek yogurt or sour cream (or mix the two)
1 tbs Wildtree Dill Dip Blend
3 tbs grated cucumber
1 clove garlic, pressed
1 tsp Wildtree Lemon Pepper Blend

Mix all ingredients in a bowl and chill for an hour before serving.  Serve with pita chips, crackers, veggie trays, or put on wraps or sandwiches.

For a Middle Eastern twist, add basil or mint. Its great with cilantro on tacos, too!

Wildtree Dill Dip Blend- buy it here.

Sunday, February 16, 2014

Sturdy Buttercream Frosting (Great for Decorating)


Busy Mama Recipes


I know there are a million recipes out there for buttercream frosting, but I get asked for a recipe a lot. This one is my favorite because it tastes good and is still stiff enough to decorate and tends to not "melt". IT doesn't taste like sugar or food coloring, like a lot of decorating frosting tends to do.  It is not a traditional recipe, if that is what you are looking for. It does contain some cream cheese, but not enough to be called a cream cheese frosting.

I use my KitchenAid stand mixer and make large batches at a time. The recipe below yields enough frosting to frost and "stuff" a two layer cake, with leftover to make decoration flowers. Today I decorated three dozen cupcakes and had enough leftover to do almost a dozen more. The reason I don't like making small batches of frosting is because if the mixer isn't full, air gets whipped into the frosting and it creates bubbles... not good if you want smooth, decorating frosting.

3 cups salted butter at room temp
8 ounces room temp cream cheese (to stabilize and add flavor)
1 1/2 cups vegetable shortening (for stabilizing)
6 cups powdered sugar
2 tbs milk or heavy cream
2 tsp vanilla extract

Whip the butter, cream cheese and shortening until smooth. While continuing to mix, slowly add the powdered sugar. Add the milk (one spoonful at a time, and only if necessary) and the vanilla. Chill until you're ready to use.


Photo:  Monster cupcakes for my one year old son's monster themed birthday in February.  The frosting looked like this for a week before the rest of the cupcakes got eaten.  No melting, no running- even with the added food coloring.  I bought the candy eyeballs at Safeway.


Immediately prior to use, re whip in the mixer to prevent the frosting from becoming too hard to pipe.  The cream cheese and shortening are optional, and you can substitute butter instead. However, adding the shortening makes the frosting less "meltable". The cream cheese adds just enough flavor to make it not taste like butter, and also creates stability and helps keep it from melting or becoming soft.

Smoked Mozzarella and Tomato Stuffed Mushrooms

Busy Mama Recipes


I made this yummy "snack" today for a little family get-together and it ended up being gobbled so fast I wish I would have made more. If you like stuffed mushrooms, this is a must-try!

Photo from www.wildtree.com, where this recipe is featured. 

One package white mushrooms (about 30)
8 ounces cream cheese
2 tbs Wildtree Smoked Mozzarella and Tomato blend
2 green onions, sliced very thin
1/2 cup shredded Mozzarella or Parmesan cheese

Preheat oven to 350°F and coat a 9x13 baking dish with pan spray. Wash and de-stem all mushrooms. Arrange the mushroom caps, hollow-side up, in the baking dish. Chop half of the stems and discard the rest. In a medium mixing bowl, add one tablespoon of warm water to the Wildtree Smoked Mozzerella and Tomato Blend and mix until the water is absorbed. Add the cream cheese, chopped mushroom stems, and green onions.  Mix until thouroughly combined. Place cream cheese mixture into a zip-top bag and cut about half of an inch off of its corner. Squeeze the cream cheese mixture into mushroom caps until filled and top with shredded mozzarella. Bake for 30 minutes or until mushrooms are tender and cheese is browned.

Wildtree's Smoked Mozzarella and Tomato Blend.  Buy it here.


Serve with lemon wedges and easy marinara sauce:
Combine 14 ounces crushed tomatoes with a 1/2 tablespoon of Wildtree Hearty Spaghetti Blend. Warm on the stove or in the microwave.

Readers: This recipe is featured on the Wildtree Website now!  Check out their recipes, which you can sort by Wildtree Product.